¶ Automatic Updates
The most important recommendation is to use the Itch app to get automatic updates for MakePlace
¶ Introduction
There is a tutorial walkthrough when you first install/reinstall and launch MakePlace but this guide will go into some more detail.
Throughout this guide, the default keybinding for each applicable option will be contained in parentheses.
This guide only shows the interior. The exterior options are the same but will contain the Outdoor items and an option to Go Inside instead of outside.
¶ Movement
The default keys for movement are:
- W for forward
- A to strafe left
- D to strafe right
- S to move backwards
- Space to jump while in walk mode or move up in the fly mode
- Z to move downwards in fly mode
¶ Interface
¶ Grid Snap
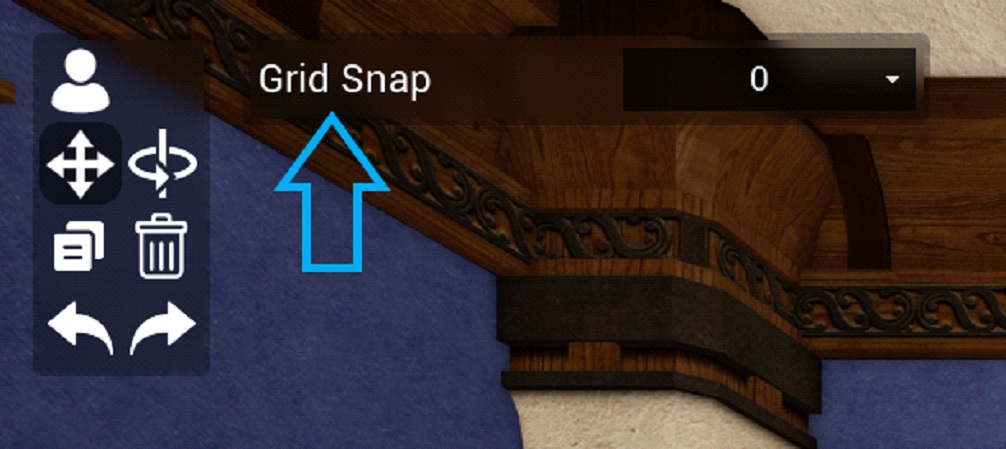
This drop-down will enable or disable the snapping of items to an invisible grid. The lower the number the more sensitive the snapping, meaning you will need to make smaller movements. A value of 0 disables the grid snap for free placement of items.
¶ View & Move
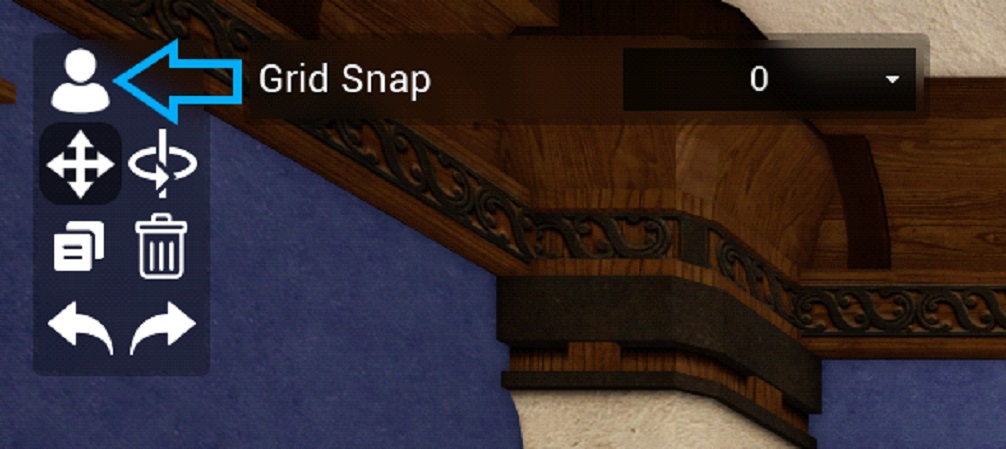
This will open another panel
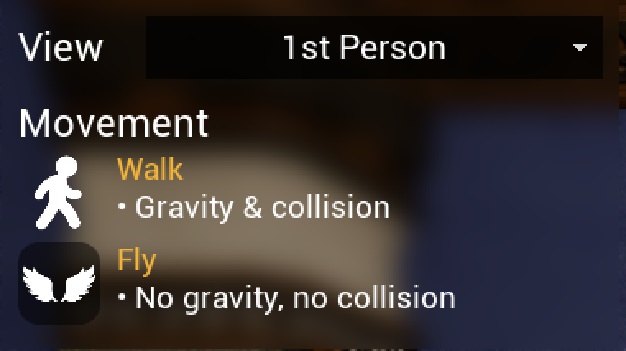
The drop-down menu next to View is the option to switch between third and first-person points of view.
Here you can also change between Walk mode (G) and Fly mode (F).
To close this panel, click the same button that opened it.
¶ Move & Rotate
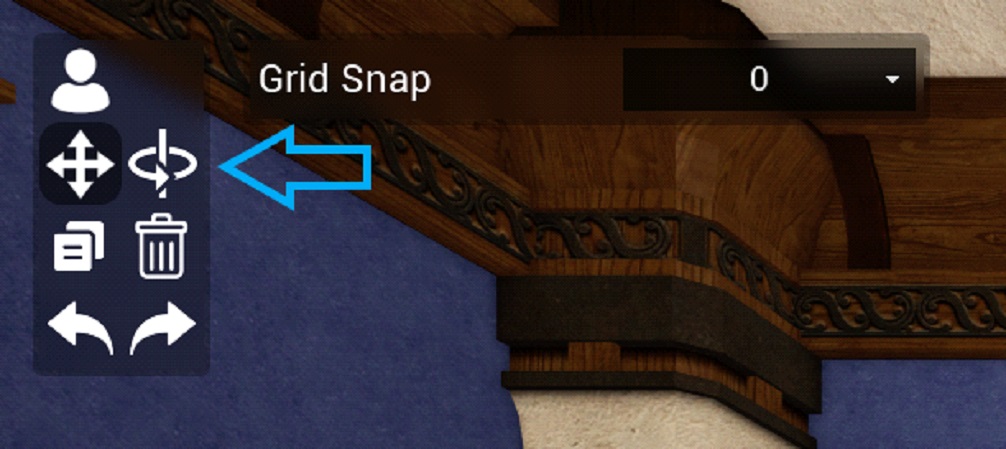
The left button of directional arrows will toggle Move Mode (T) which allows the movement of items. This is the mode you will be in the most.
The button on the right, the circle arrow, toggles Rotate Mode (R) which allows you to click and drag on an item to rotate it.
¶ Copy & Delete
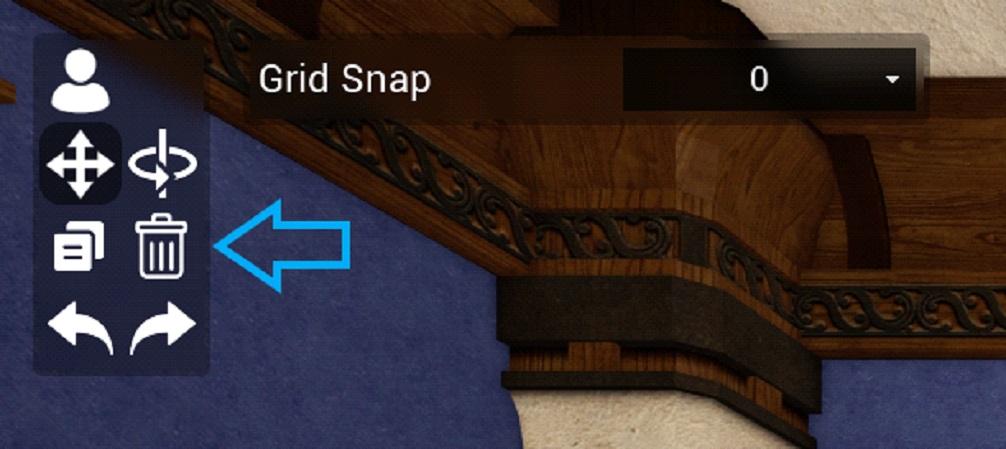
These are fairly self-explanatory. The left button shows a doubled item which is the Copy (C) button, and the garbage can for Delete (delete).
¶ Undo & Redo
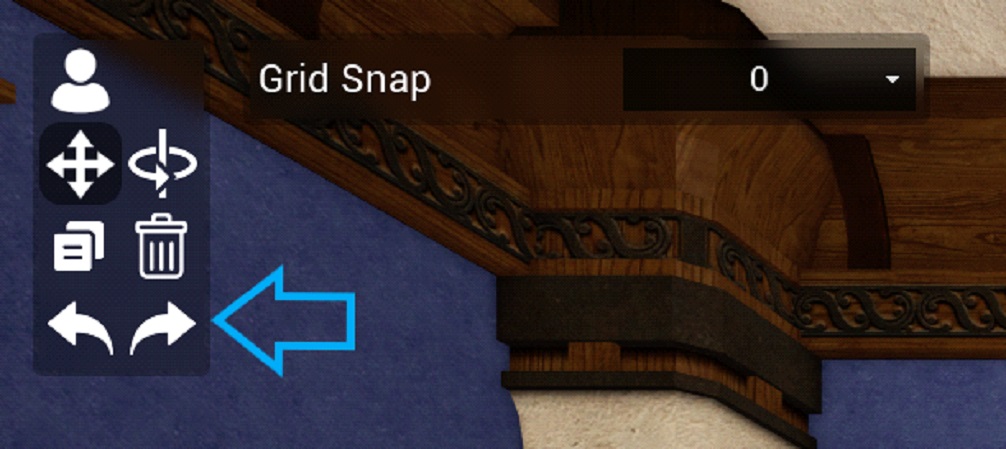
The left arrow to Undo (Ctrl+Z) and the right arrow to Redo (Ctrl+Y) (undo the undo).
¶ Furniture Categories
Slightly further down the left side, we find the following buttons. Some of these will open a second panel with more organized options. We will not go into all of these as they are fairly self-explanatory.
The first button is where the Fixtures are located. These are your foundational items such as partitions, pillars, and beams.
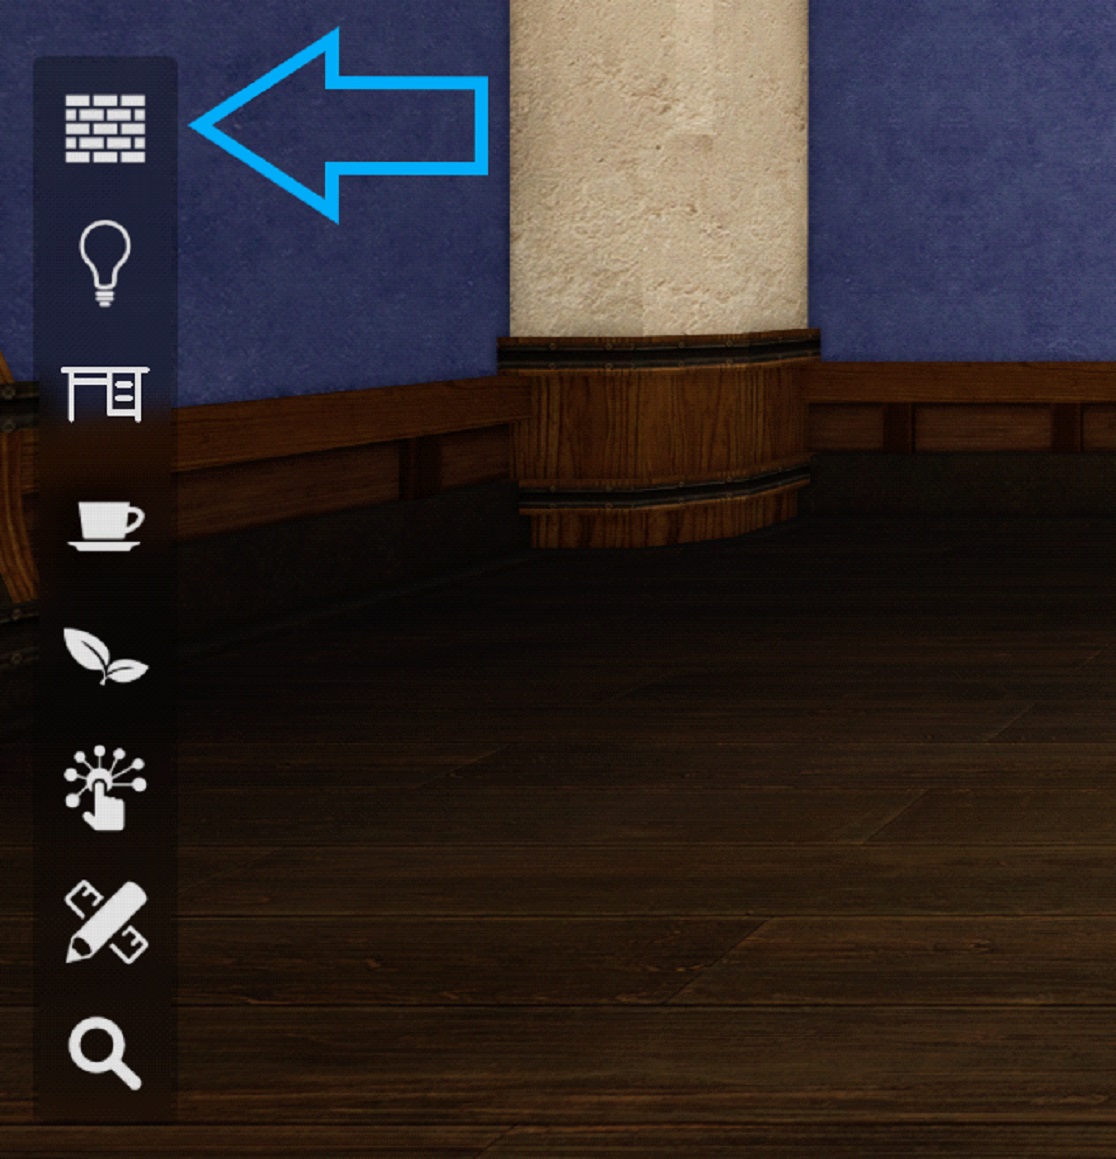
Next, we find Lighting. Floor lamps, table lamps, and windows can be found here.

The third button is where we'll find our furniture items. This category is organized into sub-categories so take your time to look around, but think tables, chairs, bookshelves, rugs, and most of our wall-mounted items.

In the fourth spot is Items. This also has another layer of organization which includes our table-top items, stuffed toys, shared foods, trophies, and printed items. The printed items can be table-top or wall-mounted so if you're having trouble finding something elsewhere that falls into either of those categories try this spot.

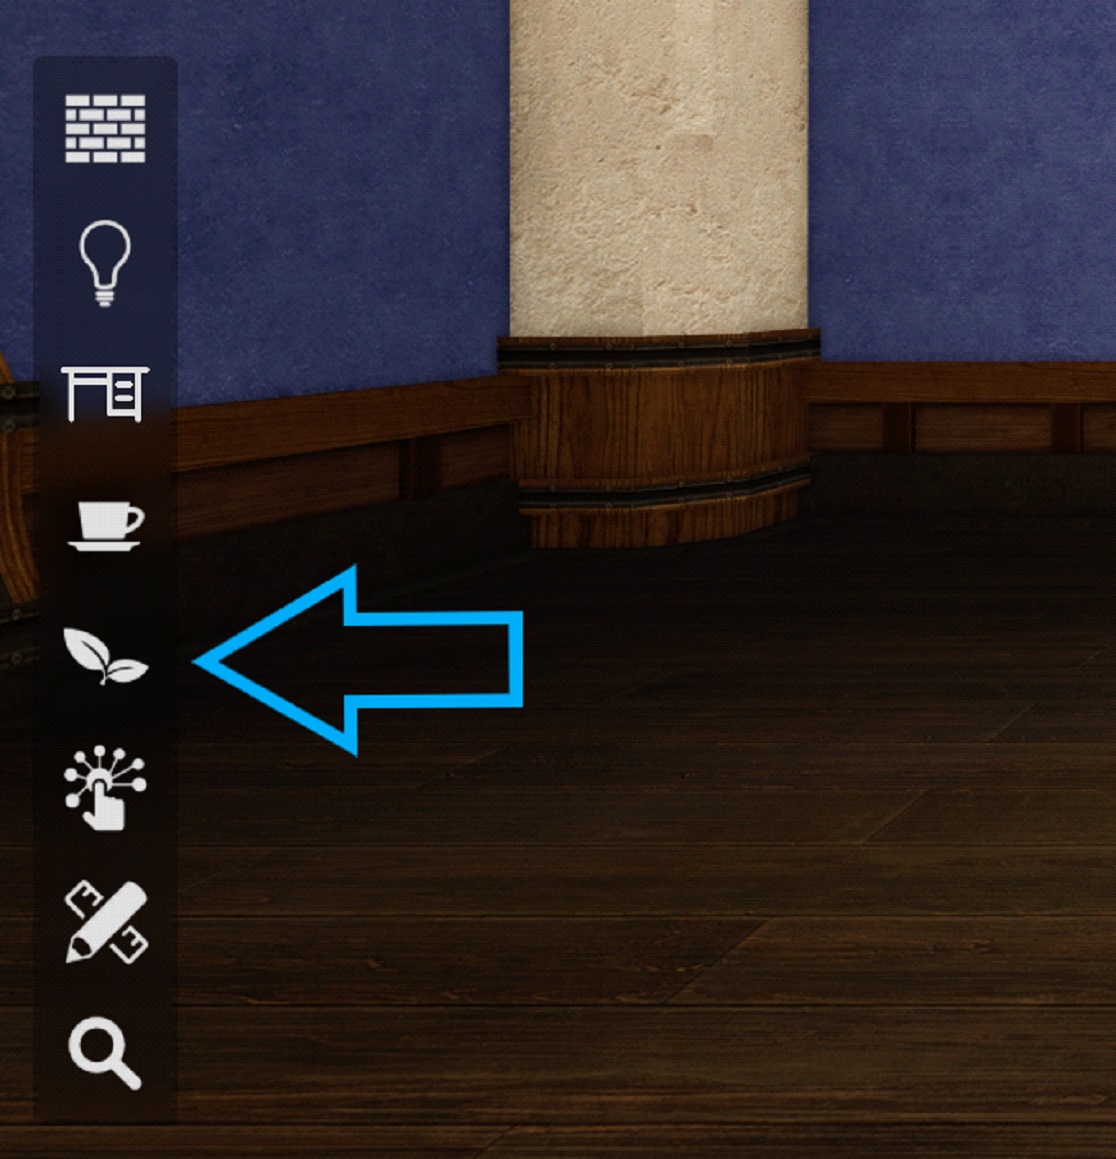
Fifth, but most important, is greenery! Your Verdant and Spring Partitions are here as well as all of the beautiful indoor plants and flowers.
Next up is our Interactive items. This is where our NPCs are located like the Maidservants and Junkmonger, but also our Message Book Stand is here, as well as The Unending Journey and the crafting benches. The Manor musical instruments are here as well.
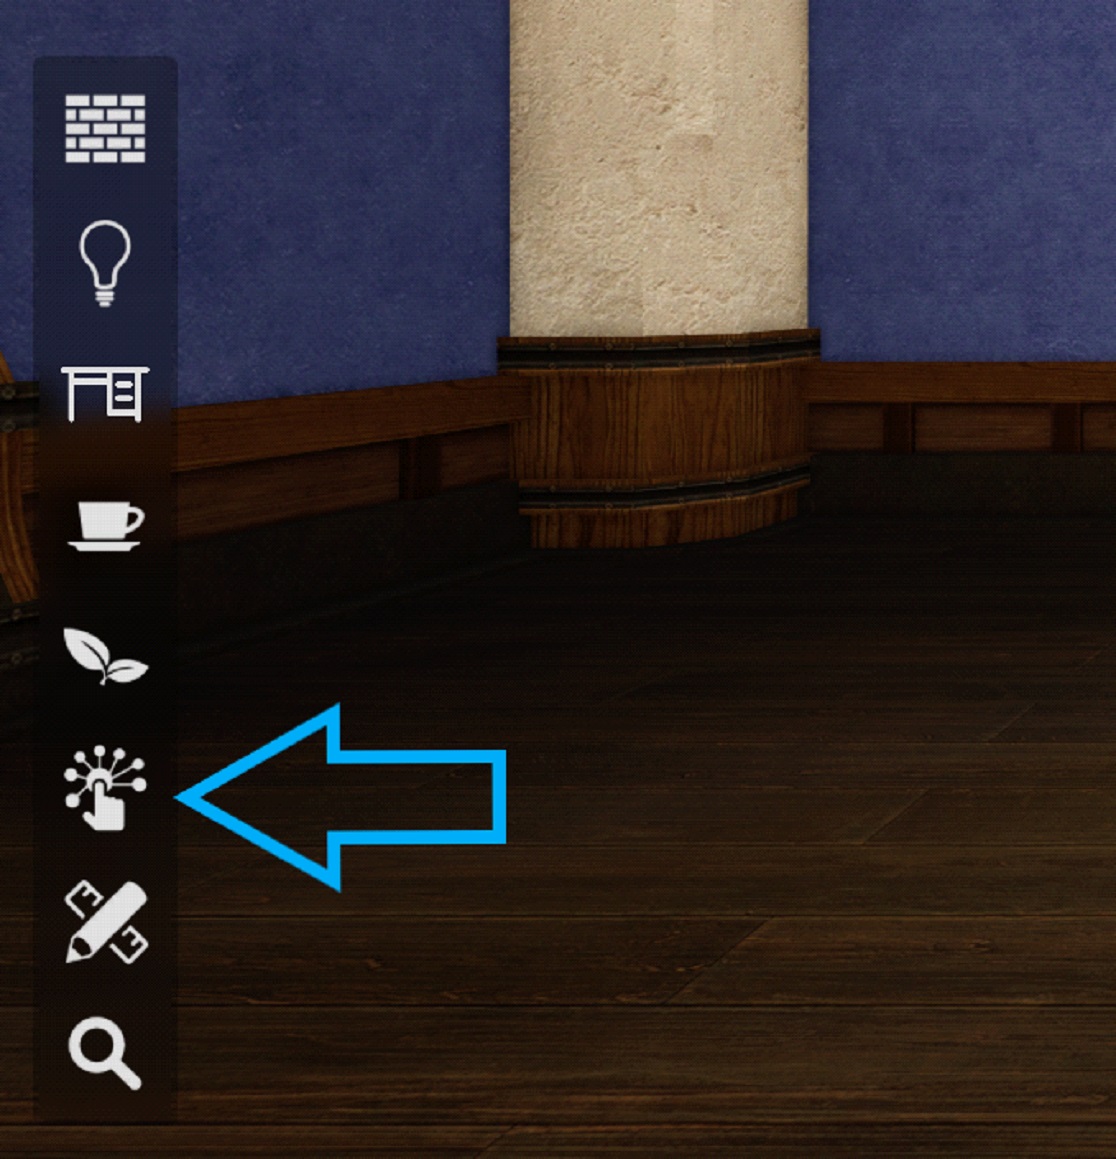
Before we move on I'd like to draw attention to the "Replace selected furniture" option. When you have placed an item down and are going to place another item, if the first item is still selected you will see this option. Selecting a different item with this box checked will REPLACE the first item, meaning it will disappear. If you do not want this to happen, make sure to uncheck this box.
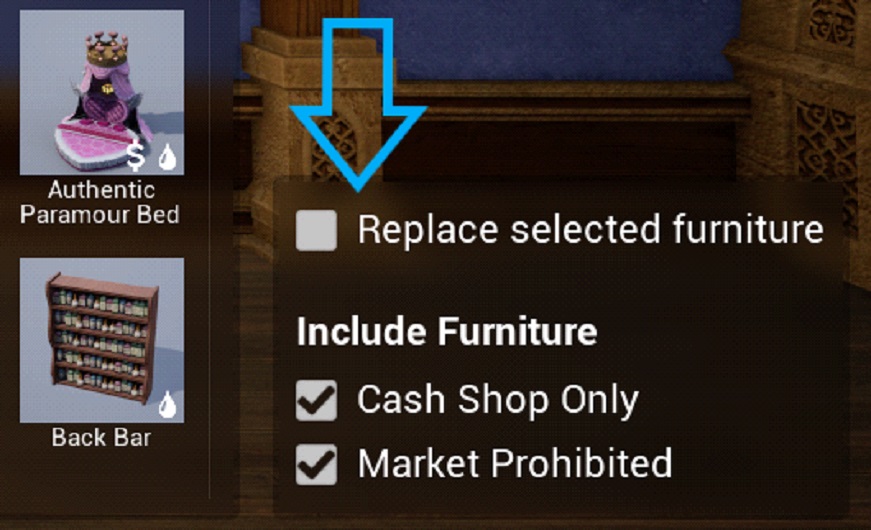
As you can see, this is also where you can include or filter out Cash Shop items and any item that is Market Prohibited and cannot be traded.
¶ Custom Designs
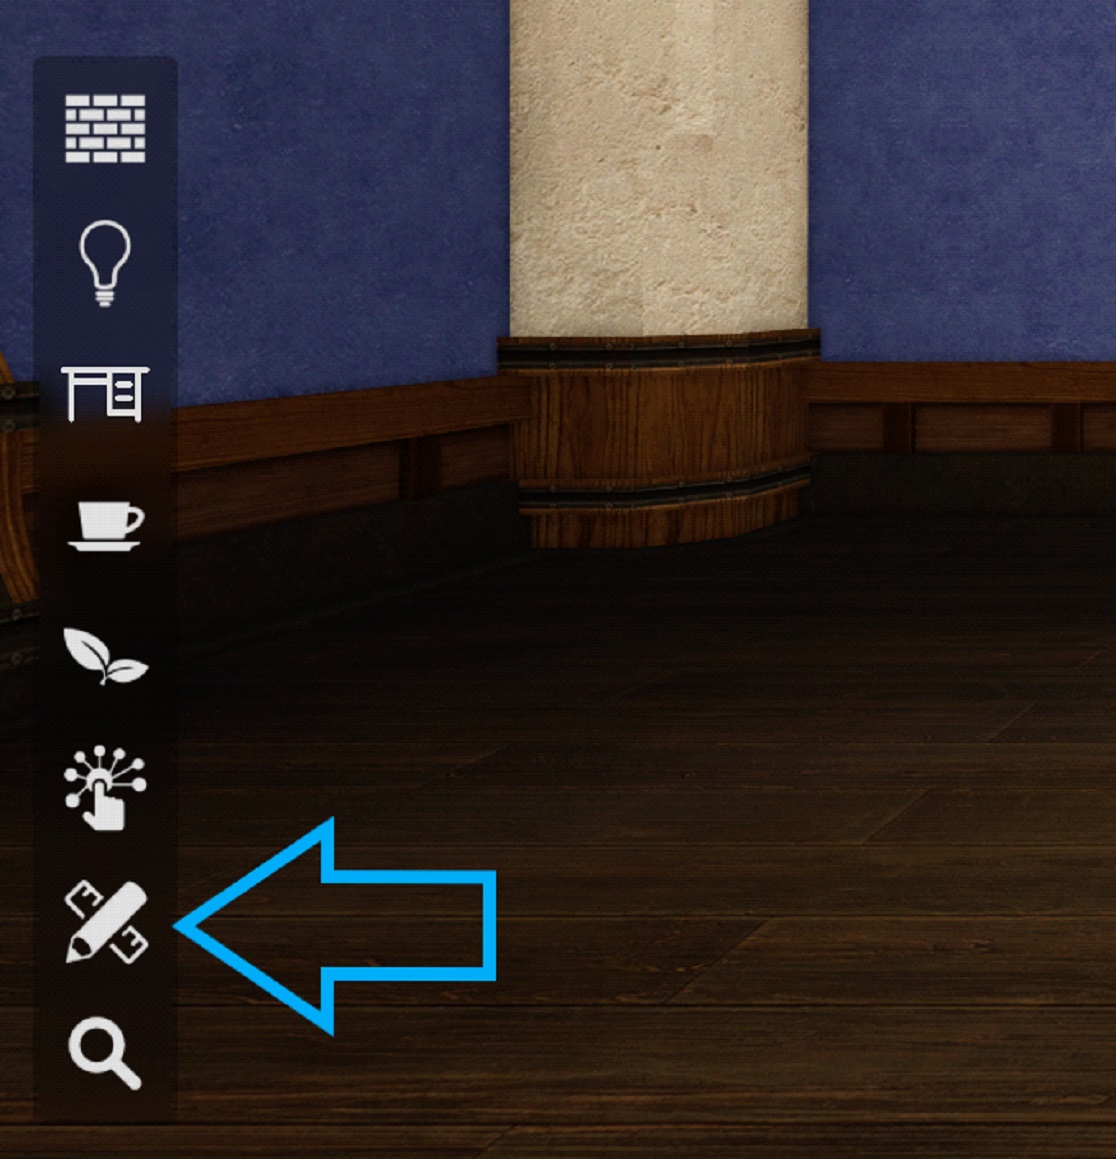
The button second from the bottom is how we make and break apart Custom Designs. A custom design is a selection of items that have been combined together to make one moveable object. To do this, use Shift + Left Click to select multiple items together, then click on the Custom Design button, input a name for your object and click Combine (Ctrl+G) and then the Save (Ctrl+D) button.
If you then decide you want to break that object apart back into its individual pieces, simply select it and click the Break Apart button (Ctrl+B).
¶ Search
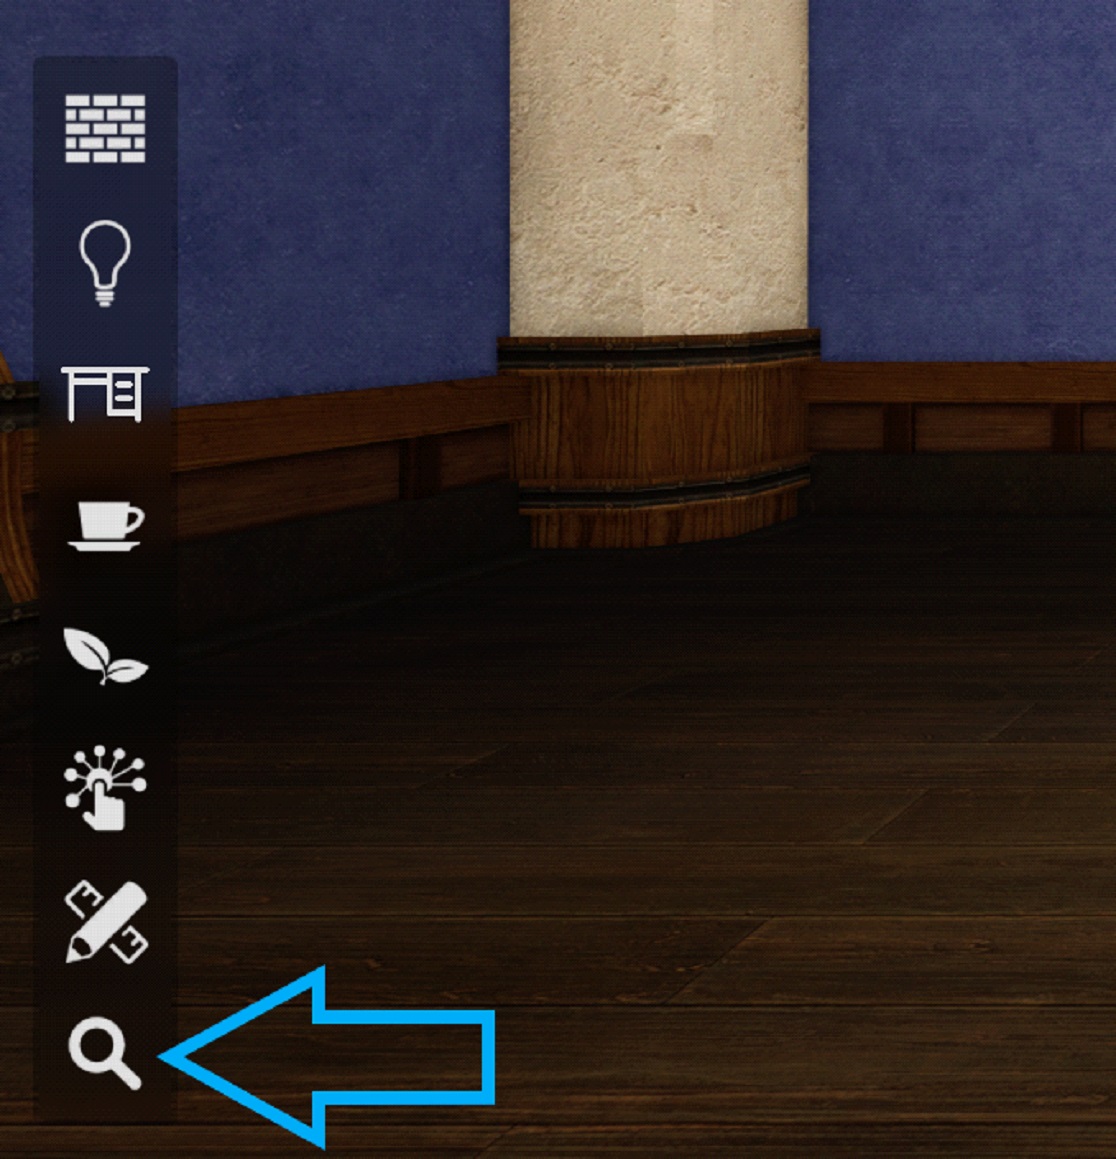
Lastly, we have the magnifying glass for the Search option. Type in the name, or part of the name of an item to search for it.
Moving to the top right side of the screen, you will see this:
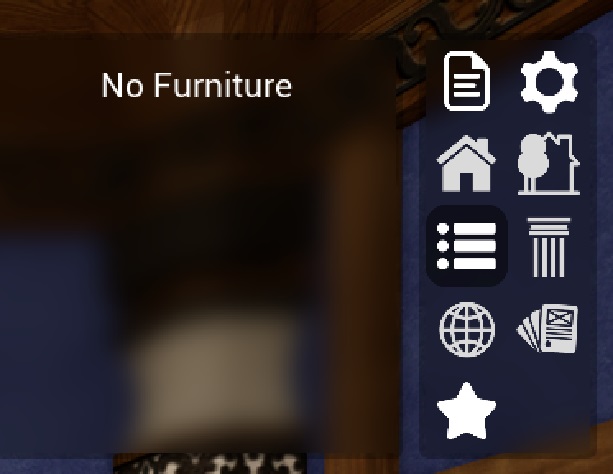
The leftmost panel will show a list of all placed items. We can close this by clicking on the darkened button, the three lines with dots. Now we'll move on to the rest of the buttons.
¶ Layout & Settings
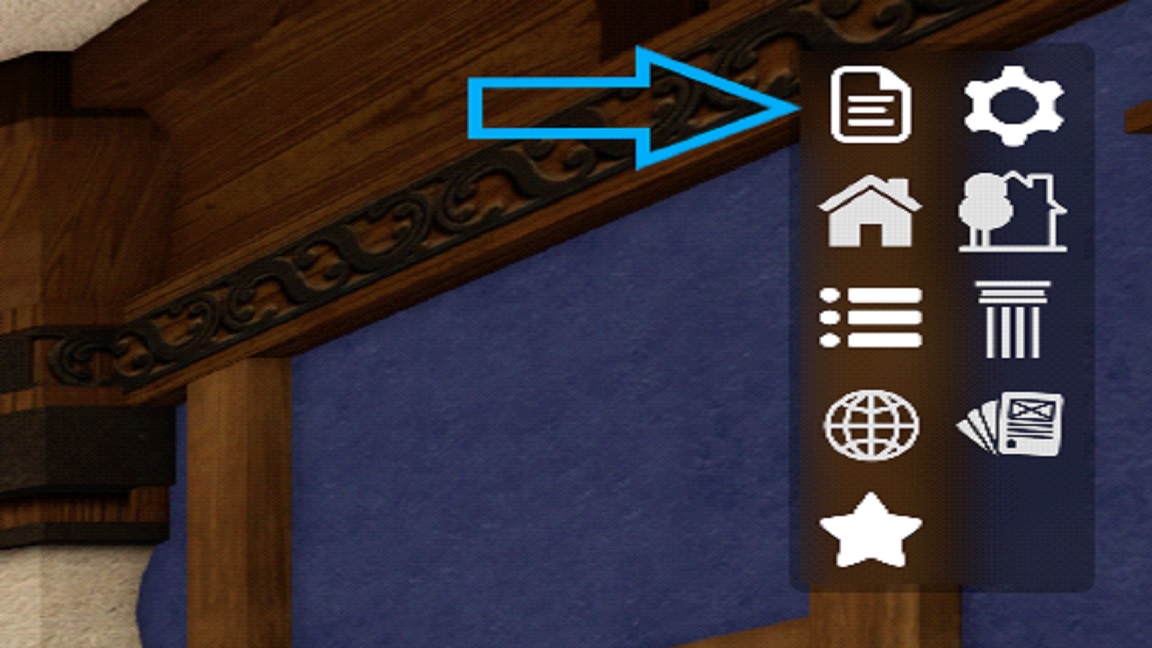
When you click on the paper icon for layout, you will see this pop-up at the top of the screen:

A text input field is followed by a Save icon (Ctrl+S), a Folder icon for Load (Ctrl+O), and a Paper Icon for New Layout (Ctrl+N). When you want to save a new design you are working on, type in the save name you desire then click the save icon.
The Load button is a bit redundant as all of your saves have been populated at the bottom of the screen. You can simply click on one there to load it.
If you are working on something and you don't like it and want to start over, you can use the New Layout button. It will remove all of the furniture but leave any chandeliers, wallpaper, and flooring. You can also select all of the furniture by clicking on one item and then hitting Ctrl+A. Your keyboard's Del or Delete button will do exactly as expected.
¶ Settings
To the right of the Layout button, we find Settings. Clicking on this will bring up another panel with the options of Account, Graphics, Controls, and Others. You will also find the version number at the bottom right of each of these panels.
¶ Account
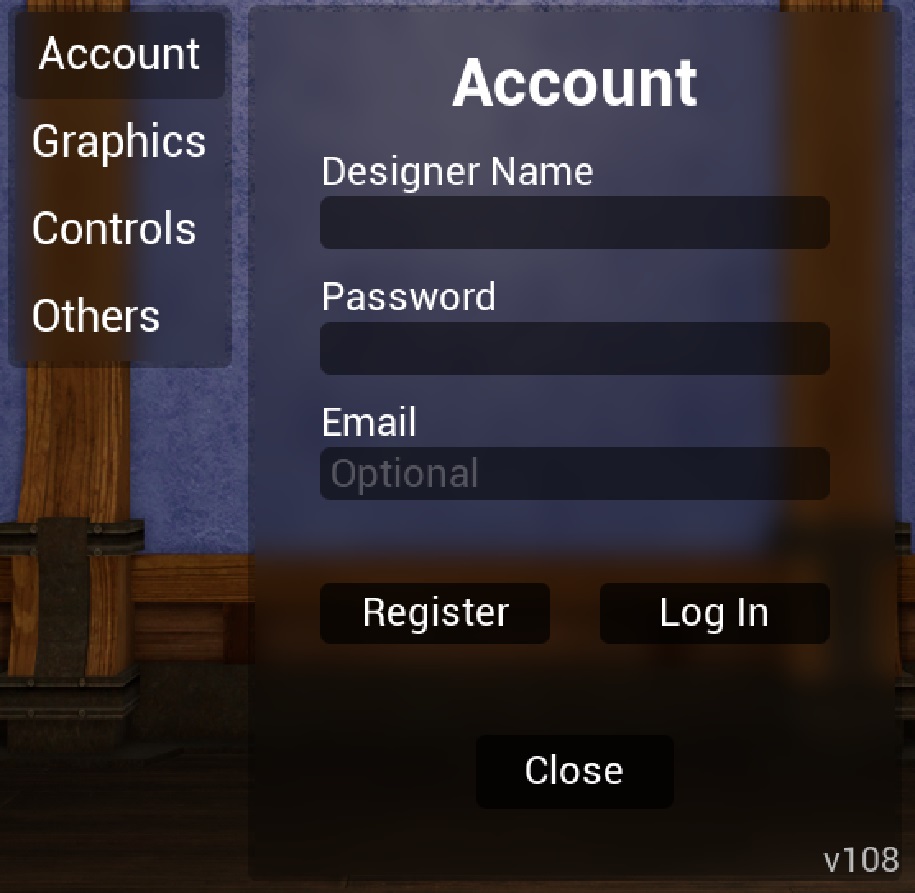
An account is not necessary yet but will have more functionality in the future such as profile descriptions and adding links.
¶ Graphics
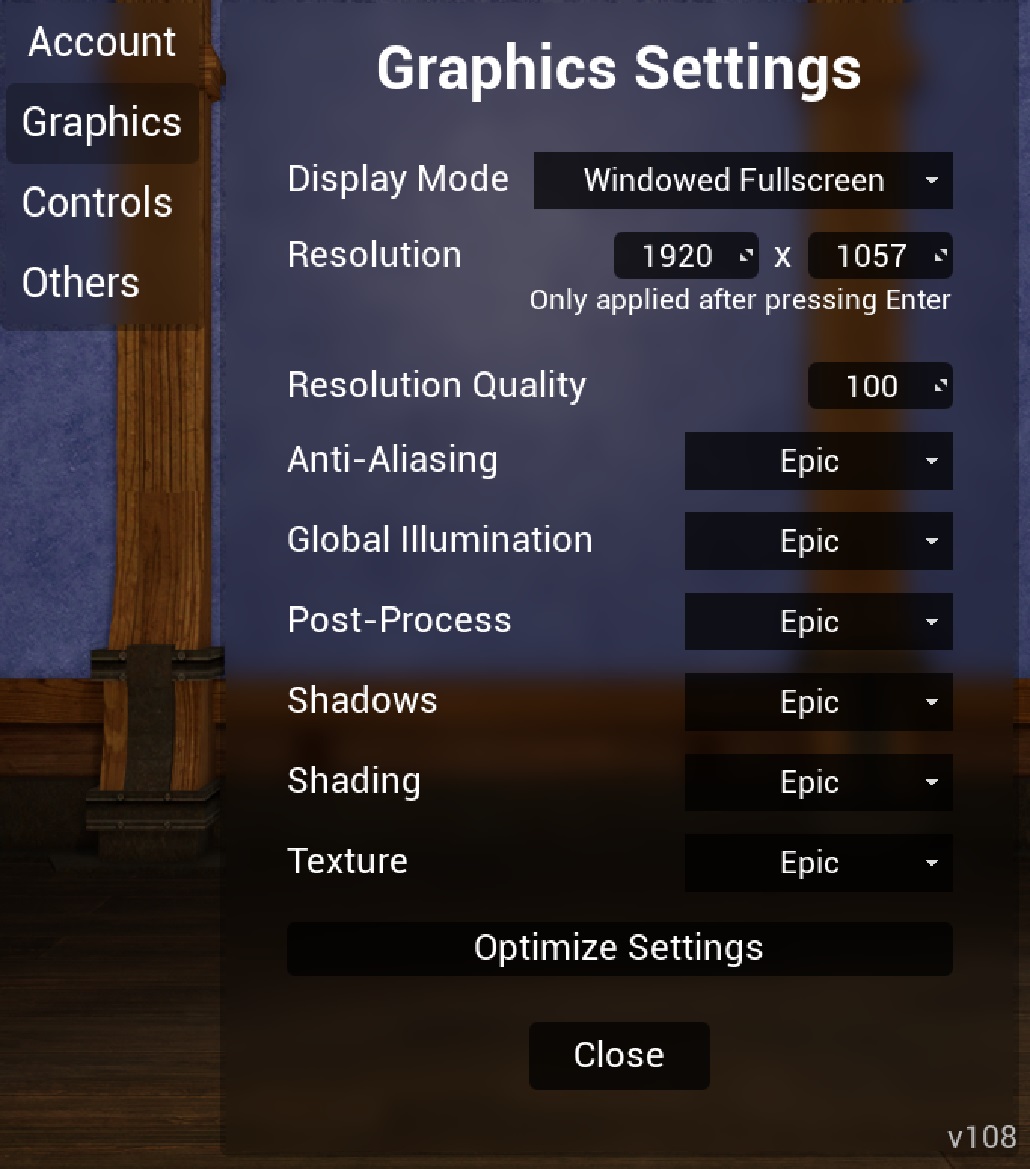
The graphics tab has multiple drop-down menus to change the graphic settings and a button to optimize.
¶ Controls
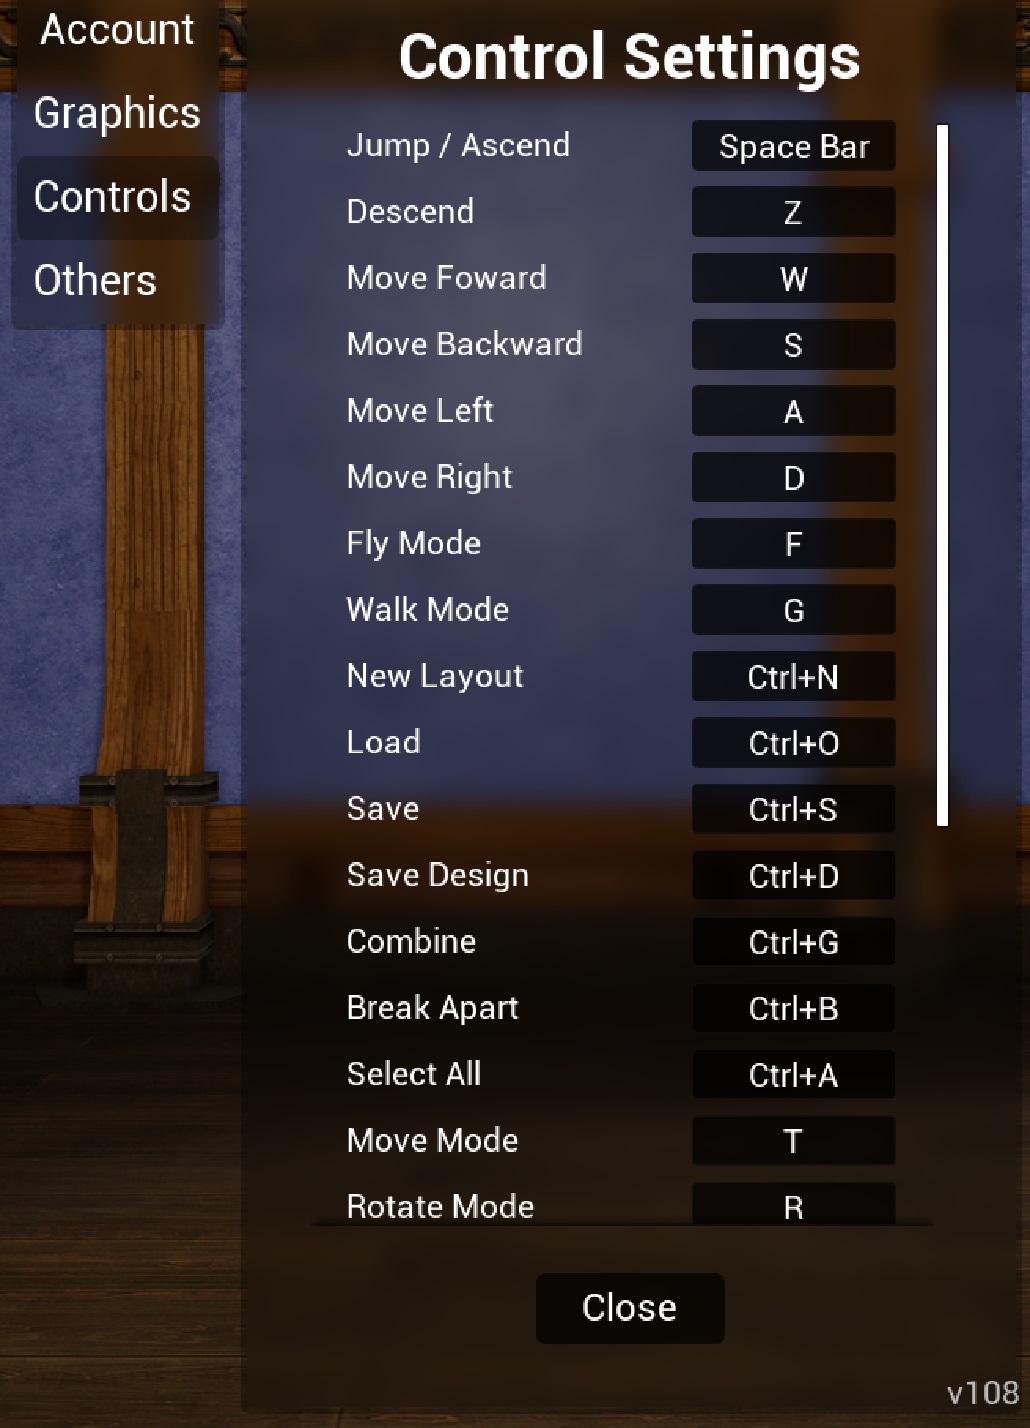
Controls is where you will find the options to customize the keybindings. The screenshot ability is only functional when uploading a design. There is no folder where screenshots are kept by MakePlace so if you do want to take screenshots, I would suggest using the Windows Snipping Tool (Shift+windowskey+s).
¶ Others
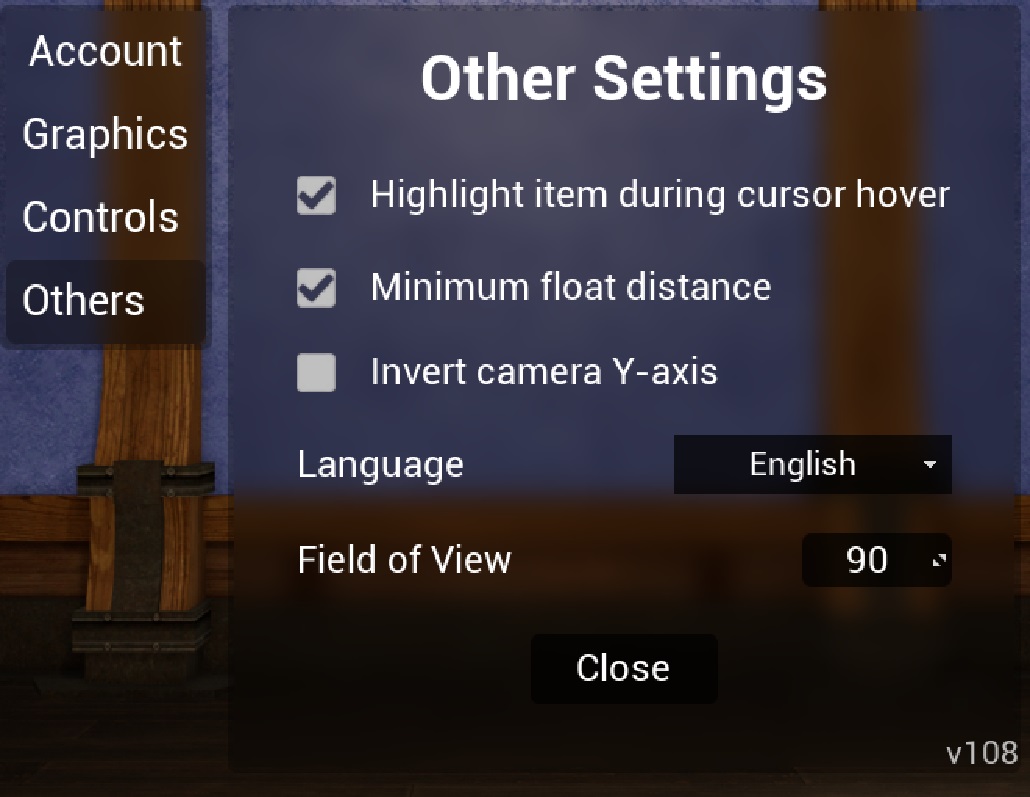
In the Others tab, we find some miscellaneous options such as the Language setting.
As a designer, you may wish to unselect the Highlighting option if you're taking a video walkthrough or something that you're sharing with a client to avoid accidental highlighting which will make that item look a different colour.
Minimum Float Distance - this option is what enables MakePlace to show you the height and distance restrictions that are in-game. If you plan on uploading your design into the game, make sure this option IS CHECKED. If you deselect this option your design may not work in-game.
¶ House Options
The second pair of buttons is House Options and Go Outside
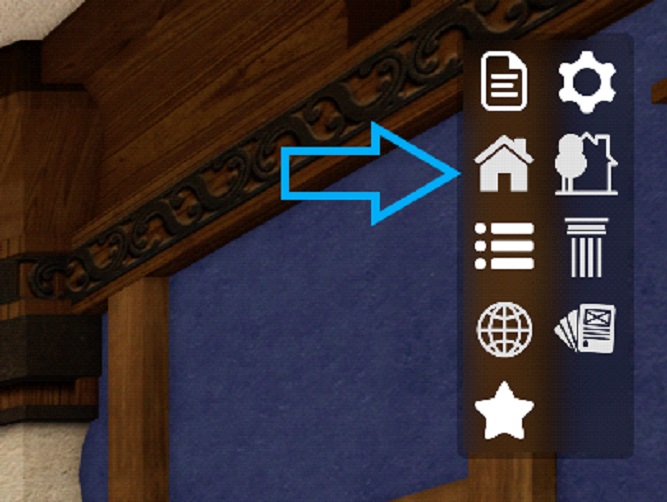
Clicking on House Options brings up this panel
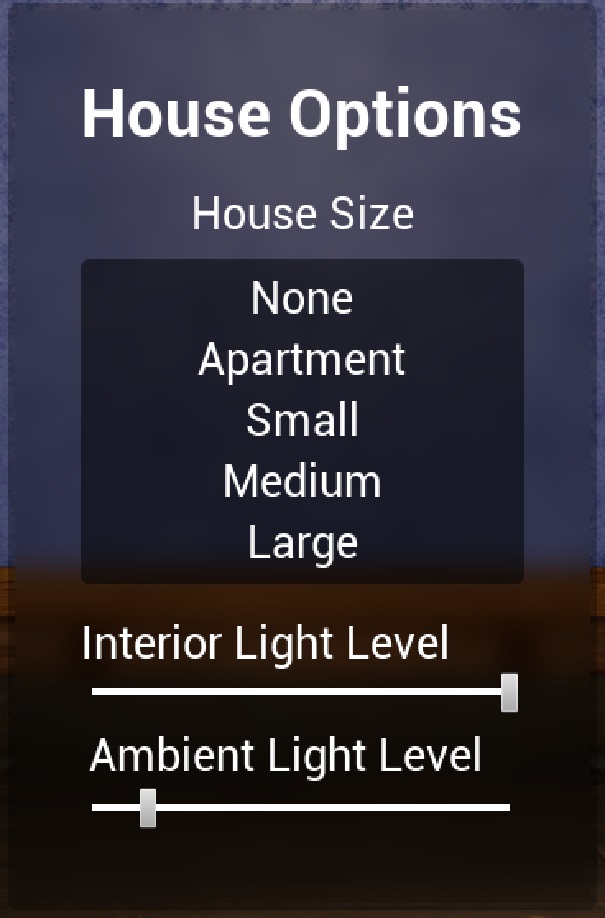
If you click on None here, you will be transported outside and there will be no house. To fix this just select a house size and then click Go Inside.
Ambient lighting affects the intensity of the shadows and is used mostly for building out of bounds where there is no interior lighting.
The button beside House Options is Go Outside. This will take you to your garden area to do outdoor decorating.
¶ Furniture & Fixture List
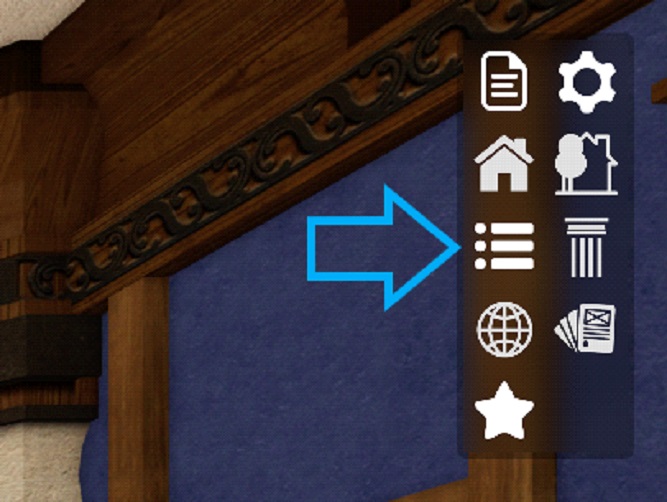
This is what we clicked in the beginning to remove that panel. As you're placing items, the panel that appears/disappears when you click this will populate with all of the placed items.
The Fixtures List will show you the flooring, chandelier, and wallpaper for each floor of your house, as well as give you the option to add or remove the Chambers door for FC or personal houses.
¶ Online Houses and Online Catalog
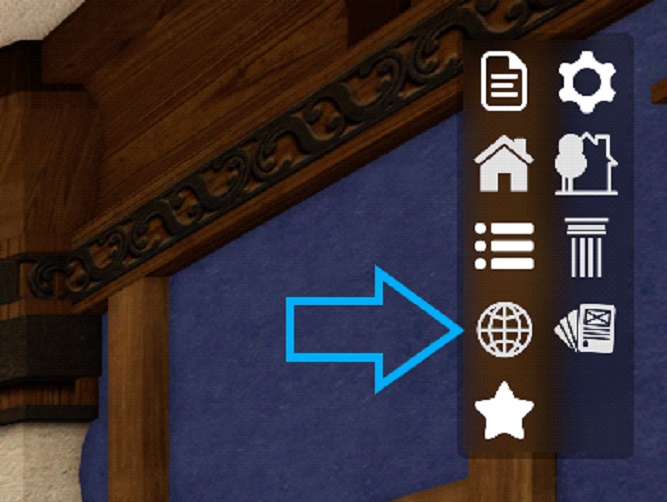
If you want to view houses that others have made you can go to Online Houses and visit them from there.
If you want to upload a design, select Create from the left side. Make sure that you are finished making your build first!
If you have already uploaded a design and want to edit it, you may do so with the Edit option on the left.
If you want to look for pre-built designs and items to use, you will go to Online Catalog, the button to the right, and browse them here. Select one and the entire piece/build will be stuck to your mouse. Place it down and hit escape to deselect it. To break it into its pieces, use the Custom Design option to break apart (Ctrl+B)
Creating and editing are done the same way here as they are for the Online Houses.
¶ Rate Places
Last but not least we have the option to Rate Places.
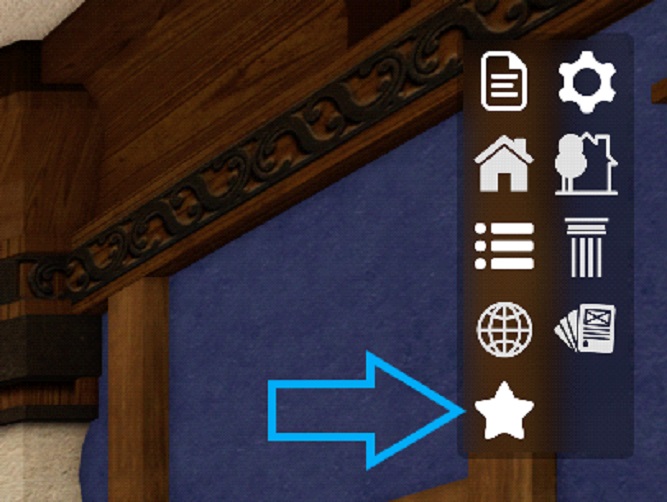
This is done on a Glicko Rating System so you will be presented with two designs and you pick which one you like better.
The results of these ratings are shown below the design in the Online Houses section as a coloured star, and a rating number will display when you hover your mouse over the star.
¶ District
Finally, how to change which district style your house is. By clicking on the ceiling or a pillar (as you can see my pillars and ceiling are green meaning they are selected) in your house you will see this panel populate on the right.
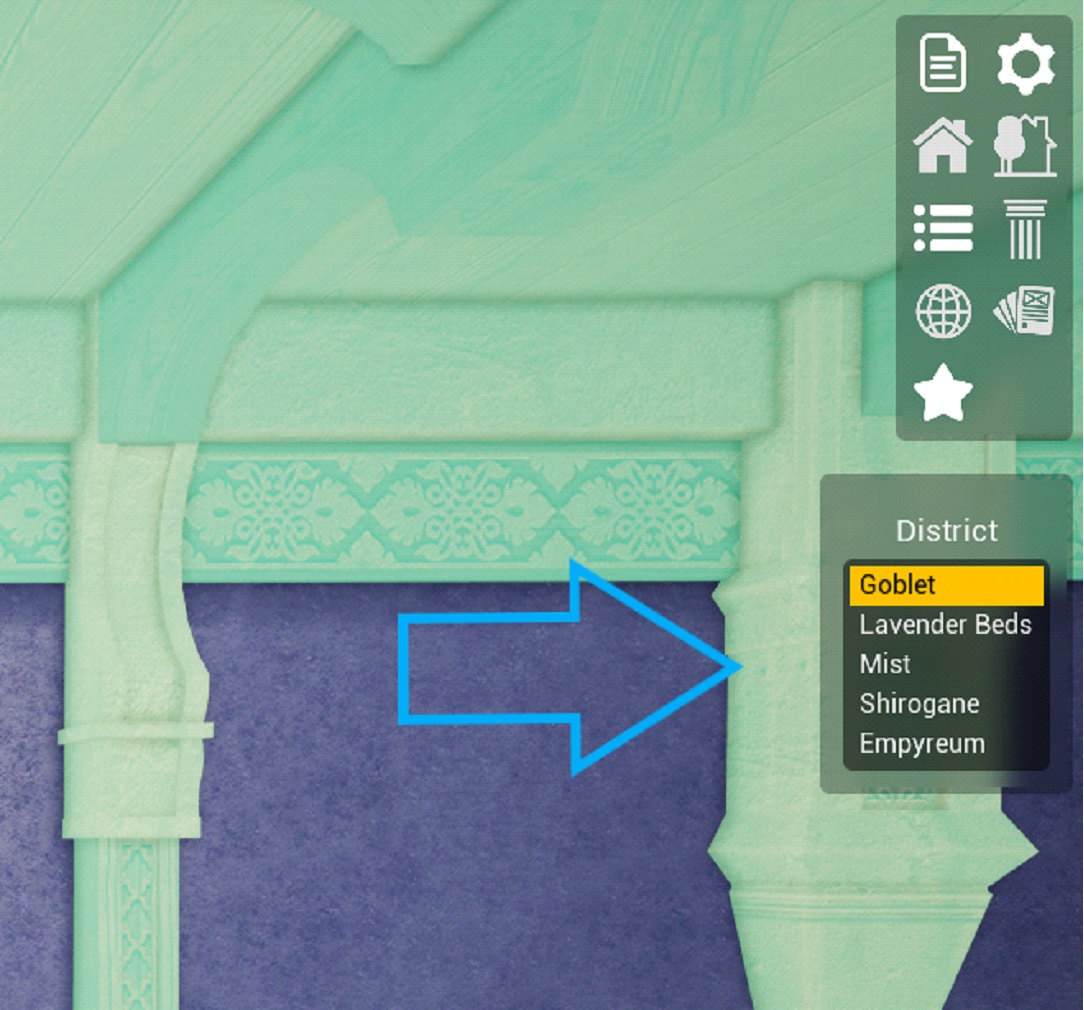
Simply click on your desired district, and voila!
¶ Conclusion
This brings us to the end of the App User Guide for MakePlace.
If you encounter any issues, please join the discord at https://discord.gg/D2Qc5GCH7E and post your query in the #troubleshooting channel. There are a plethora of other users there happy to help!
¶ Credits
This guide was first compiled by Ren Reo with help from Iza, and subsequently adapted into the wiki format by Jawslouis.